Tila Bead Bracelet Tutorial: A Comprehensive Guide
Welcome to the ultimate guide for crafting exquisite Tila bead bracelets! Whether you’re a novice or a seasoned jewelry maker, this comprehensive tutorial provides step-by-step instructions for creating stunning bracelets to wear or gift.
Tila beads, also known as Miyuki beads, are flat, tile-like glass beads renowned for their unique square shape and two parallel holes. These distinct features allow for intricate and sophisticated designs in jewelry making, particularly in bracelets. Originating from Japan, Tila beads offer a sleek and modern aesthetic, resembling traditional Japanese tile work when woven together.
Their precise shape and consistent size make them ideal for creating structured patterns and geometric designs. They are available in a wide array of colors, finishes, and coatings, offering endless possibilities for creative expression. From vibrant hues to subtle metallics, Tila beads can be combined to create eye-catching pieces that reflect individual style.
These versatile beads can be incorporated into various beading techniques, including stringing, looming, and stitching. Their double-hole design allows for secure and intricate connections, resulting in durable and visually appealing bracelets. Whether you’re aiming for a minimalist design or a complex pattern, Tila beads provide the perfect foundation for crafting stunning and personalized bracelets.
Materials Needed for a Tila Bead Bracelet
To embark on your Tila bead bracelet journey, gathering the necessary materials is paramount. First and foremost, you’ll need Tila beads in your desired colors and quantities. The amount will depend on the bracelet’s length and pattern. Alongside the Tila beads, you might want to incorporate seed beads, bugle beads, or round beads for added texture and visual interest.
Selecting the right cord or thread is crucial for durability and aesthetics. Elastic cord is excellent for stretchy bracelets, while beading thread is suitable for more structured designs. Consider the cord’s thickness and color to complement your bead choices. Precision beading needles are essential for threading the beads, especially when working with multiple strands or intricate patterns.
To finish the bracelet, you’ll need a pair of scissors to trim the excess cord or thread. Clear nail polish or beading glue can be used to secure knots and prevent fraying. Depending on the design, you may also need clasps, jump rings, or crimp beads for closure. A beading mat can help keep your beads organized and prevent them from rolling away. Lastly, a ruler or measuring tape will ensure accurate bracelet sizing.
Choosing Your Tila Beads
Selecting the perfect Tila beads is a pivotal step in crafting a stunning bracelet. Tila beads, known for their flat, tile-like shape with two holes, offer a unique aesthetic. They come in a dazzling array of colors, finishes, and materials, allowing for endless creative possibilities. Consider the color palette you envision for your bracelet. Do you prefer vibrant hues, subtle pastels, or classic neutrals?

Think about the overall style you want to achieve. Metallic Tila beads can add a touch of glamour, while matte finishes offer a more understated look. Experiment with different color combinations to see what resonates with your personal style. You can also incorporate different sizes and shapes of Tila beads to add texture and visual interest.
Consider mixing full Tila beads with half Tila beads or quarter Tila beads for unique patterns. Don’t be afraid to step outside the box and explore unconventional pairings. Ultimately, the best way to choose your Tila beads is to let your creativity guide you. Gather a variety of options and play around with different arrangements until you find a combination that sparks joy and inspires your bracelet design.
Selecting the Right Cord or Thread
Choosing the appropriate cord or thread is crucial for the durability and aesthetic appeal of your Tila bead bracelet. The selection hinges on factors like bead size, bracelet design, and desired flexibility. For stretchy bracelets, elastic cord is a popular choice. Opt for high-quality elastic beading cord to withstand repeated stretching without snapping. Consider the cord’s thickness; a thicker cord is suitable for larger beads, while a thinner cord works well with smaller Tila beads.
For non-stretch bracelets, beading thread or cord is preferred. Nylon beading thread is strong and durable, ideal for intricate patterns. Fireline, a type of braided beading thread, offers exceptional strength and resistance to fraying. The color of the cord or thread should complement the Tila beads. Neutral tones like white, black, or clear are versatile options that blend seamlessly with various bead colors.
Experiment with different materials to discover what works best for your style. Remember to consider the size of the holes in your Tila beads when selecting your cord or thread. The cord or thread should pass through the holes easily, but not be so thin that the beads slide loosely. A secure and well-chosen cord or thread ensures a bracelet that is both beautiful and long-lasting.
Step-by-Step Instructions: Basic Tila Bead Bracelet
Creating a basic Tila bead bracelet is a simple and rewarding project, perfect for beginners. Start by cutting two strands of elastic cord, each approximately 15 inches long. This extra length provides ample room for tying knots and ensures a comfortable fit. Secure one end of the cords together with an overhand knot. For added security, apply a small dot of clear nail polish or jewelry glue to the knot. This prevents the knot from unraveling during wear.
Begin stringing the Tila beads onto both strands of cord simultaneously. This double-strand technique enhances the bracelet’s durability. Continue adding beads until the bracelet reaches your desired length, typically around 6.5 to 7.5 inches for an average wrist size. Once you’ve strung the beads, carefully tie the two ends of the elastic cord together, creating a secure knot. Again, reinforce the knot with clear nail polish or glue.
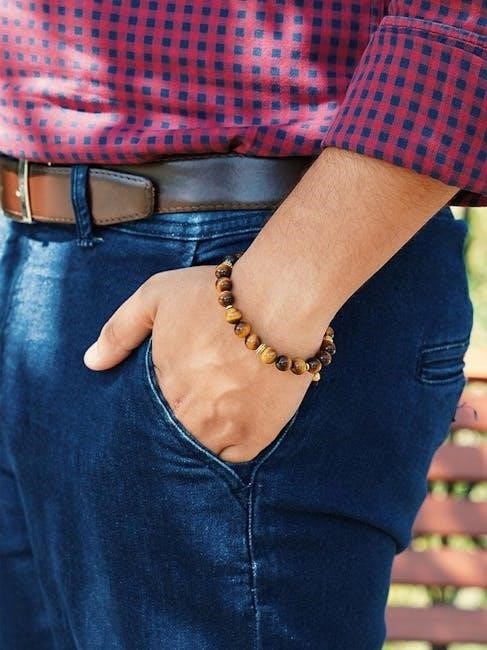
Trim any excess cord, leaving a small tail. Gently tuck the knot and cord tails into the surrounding beads for a clean, professional finish. Stretch the bracelet a few times to ensure the knot is secure and the beads are evenly distributed. Your basic Tila bead bracelet is now complete!
Creating a Knot and Securing the Cord
The knot is a critical component of any Tila bead bracelet, ensuring its longevity and preventing bead loss. For elastic cord bracelets, a surgeon’s knot is recommended due to its strength and minimal bulk. Begin by overlapping the two ends of the cord to form a loop. Pass one end over and under the other twice, creating a double knot. Pull the knot tight, ensuring it sits snugly against the last bead.
For added security, apply a tiny drop of clear nail polish or specialized jewelry glue, such as E6000, directly onto the knot. Allow the adhesive to dry completely before proceeding. Once dry, carefully trim the excess cord, leaving a small tail of approximately 1-2 millimeters. Use a needle or tweezers to gently tuck the knot and cord tails into the adjacent beads.
This conceals the knot and prevents it from rubbing against the skin. Regularly inspect the knot for any signs of wear or loosening. If necessary, reapply glue or retie the knot to maintain the bracelet’s integrity. A well-executed knot ensures your Tila bead bracelet remains beautiful and secure for years to come.
Stringing the Tila Beads
Once your cord is secured, the exciting process of stringing the Tila beads begins! Before you start, lay out your beads in your desired pattern to visualize the final design. This will help ensure you achieve the aesthetic you’re aiming for. If you’re using a pattern with specific color sequences or bead arrangements, keep your reference handy.
Thread one end of your cord through the first hole of a Tila bead. Then, thread the same cord through the second hole of the same bead. This ensures that the bead sits flat against the cord. Continue adding beads one at a time, following your chosen pattern.
As you string, gently slide the beads down the cord, ensuring they sit snugly against each other. Avoid pulling the cord too tightly, as this can cause it to stretch or break. If you’re using elastic cord, a bit of stretch is fine, but excessive tension should be avoided. Periodically check the length of your bracelet as you string to ensure it will fit comfortably around your wrist.
Adjust the number of beads as needed to achieve the desired length. Once you’ve strung all your beads, you’re ready to finish the bracelet by tying and securing the final knot.
Adding Seed Beads or Other Embellishments
To elevate your Tila bead bracelet, consider incorporating seed beads or other embellishments. These additions can introduce texture, color contrast, and visual interest to your design. Seed beads, with their small size and versatility, are perfect for filling gaps between Tila beads or creating intricate patterns alongside them.
When adding seed beads, use a beading needle to easily thread them onto your cord. You can alternate Tila beads with rows of seed beads, create clusters of seed beads around individual Tila beads, or use seed beads to frame the edges of your bracelet. Experiment with different sizes, colors, and finishes of seed beads to achieve unique effects.
Beyond seed beads, explore other embellishments like small crystals, charms, or metal beads. These elements can add a touch of sparkle, personality, or symbolism to your bracelet. When incorporating larger embellishments, ensure they have holes large enough to accommodate your cord.
Consider the overall balance and symmetry of your design when adding embellishments. Distribute them evenly or create focal points to draw the eye. Remember that less is often more – avoid overcrowding your bracelet with too many embellishments, as this can detract from the beauty of the Tila beads themselves.
Finishing the Bracelet: Tying and Gluing the Knot
The final step in creating your Tila bead bracelet is securing the ends with a knot. This knot must be strong and durable to prevent your bracelet from unraveling. A square knot is a reliable choice, formed by tying the left end over the right, then the right end over the left. Repeat this process twice for added security.
Once you’ve tied the knot, trim the excess cord, leaving a small tail. To further reinforce the knot and prevent slippage, apply a tiny drop of clear nail polish or beading glue to the knot. Ensure the glue dries completely before wearing your bracelet.
For bracelets made with elastic cord, stretch the bracelet slightly before tying the knot. This will help prevent the cord from loosening over time. After tying the knot, gently roll it between your fingers to work the glue into the fibers.
Concealing the knot can enhance the bracelet’s appearance. Try tucking the knot under a nearby Tila bead or covering it with a small bead cap. With a secure knot and a clean finish, your Tila bead bracelet is ready to be worn and enjoyed.
Tila Bead Bracelet Patterns and Designs
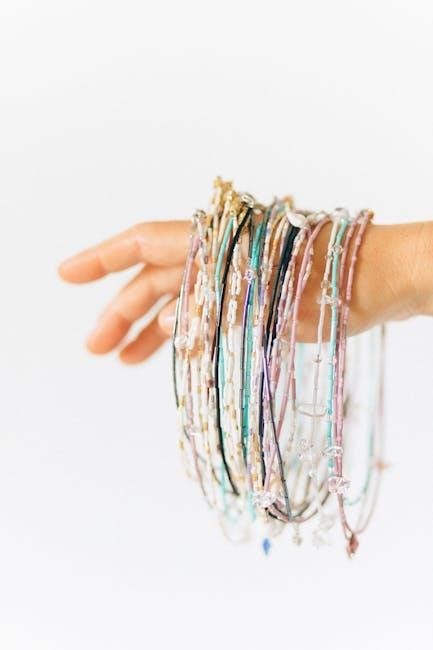
Once you’ve mastered the basic Tila bead bracelet, you can explore a myriad of patterns and designs. The unique shape of Tila beads lends itself to creative arrangements, allowing you to express your personal style. Simple alternating patterns, where you switch between different colors of Tila beads, are a great starting point.
For a more intricate look, consider incorporating seed beads or other embellishments between the Tila beads. This adds texture and visual interest to your bracelet. You can also experiment with different stringing techniques, such as using multiple strands of cord to create a wider, more substantial bracelet.
Geometric patterns are another popular choice for Tila bead bracelets. Try arranging the beads in squares, triangles, or chevrons. The double-hole design of Tila beads allows for complex weaving patterns, such as the herringbone stitch.
Don’t be afraid to mix and match different sizes and finishes of Tila beads. Quarter Tila beads, for example, can add subtle accents to your designs; With a little experimentation, you can create truly unique and eye-catching Tila bead bracelets.
Herringbone Pattern with Half Tila Beads
The herringbone pattern offers a sophisticated and visually appealing design for Tila bead bracelets, and using half Tila beads adds a unique twist. This technique creates a sleek, modern look that’s perfect for both casual and dressy occasions; Half Tila beads, being smaller, allow for a tighter weave and a more delicate appearance.
To create the herringbone pattern, you’ll need half Tila beads, beading thread, and a needle. Start by stringing two beads, then pass the needle back through the first bead. Add another bead, and again, pass the needle back through the previous bead. Continue this process, creating a zig-zag pattern that resembles the bones of a herring.
Maintaining consistent tension is crucial for a neat and even herringbone pattern. As you add each bead, gently pull the thread tight to ensure the beads sit snugly against each other. Experiment with different color combinations to create a truly personalized bracelet. You can use contrasting colors to highlight the herringbone pattern or opt for a more subtle, monochromatic look.
The half Tila bead herringbone bracelet is a rewarding project that combines elegance with intricate beadwork.
Inspiration for Unique Tila Bead Bracelets
Unleash your creativity and explore the boundless possibilities of Tila beads to craft truly unique bracelets. Draw inspiration from various sources to design pieces that reflect your personal style and artistic vision. Consider the beauty of nature, the patterns in architecture, or the colors in your favorite artwork.
Experiment with different color palettes to evoke specific moods or themes. Use bright, vibrant colors for a playful, summery bracelet, or opt for muted, earthy tones for a more sophisticated, bohemian look. Incorporate different bead sizes and shapes alongside the Tila beads to add texture and dimension. Seed beads, round beads, or even crystals can complement the flat, tile-like shape of the Tila beads.
Explore various stringing techniques to create unique patterns and designs. Try incorporating geometric shapes, abstract designs, or even personalized messages using different colored beads. Consider adding charms or pendants to your Tila bead bracelet for a touch of individuality. A simple charm can transform a basic bracelet into a meaningful keepsake.
Don’t be afraid to experiment and break the rules. The most unique Tila bead bracelets are often the result of unexpected combinations and creative exploration.

Care and Maintenance of Your Tila Bead Bracelet
To ensure your beautiful Tila bead bracelet maintains its luster and longevity, proper care and maintenance are essential. Avoid exposing your bracelet to harsh chemicals, such as chlorine, detergents, or perfumes, as these can damage the beads and weaken the stringing material.
When not wearing your bracelet, store it in a dry, cool place, preferably in a jewelry box or pouch to protect it from scratches and dust. Avoid storing it in direct sunlight or humid environments, as these conditions can cause the beads to fade or discolor over time.
To clean your Tila bead bracelet, gently wipe it with a soft, damp cloth. Avoid using abrasive cleaners or scrubbing too vigorously, as this can damage the delicate beads. For stubborn dirt or grime, you can use a mild soap solution, but be sure to rinse the bracelet thoroughly with clean water and dry it completely before storing it.
Regularly inspect your bracelet for any signs of wear and tear, such as loose beads or a frayed cord. If you notice any damage, repair it promptly to prevent further deterioration. With proper care and maintenance, your Tila bead bracelet will continue to bring you joy for years to come.

